How to Record Your Screen on Any Phone
Here is how to record your screen on a Google Pixel, a Samsung Galaxy, or an iPhone, plus third-party screen recording apps for Android and iOS.
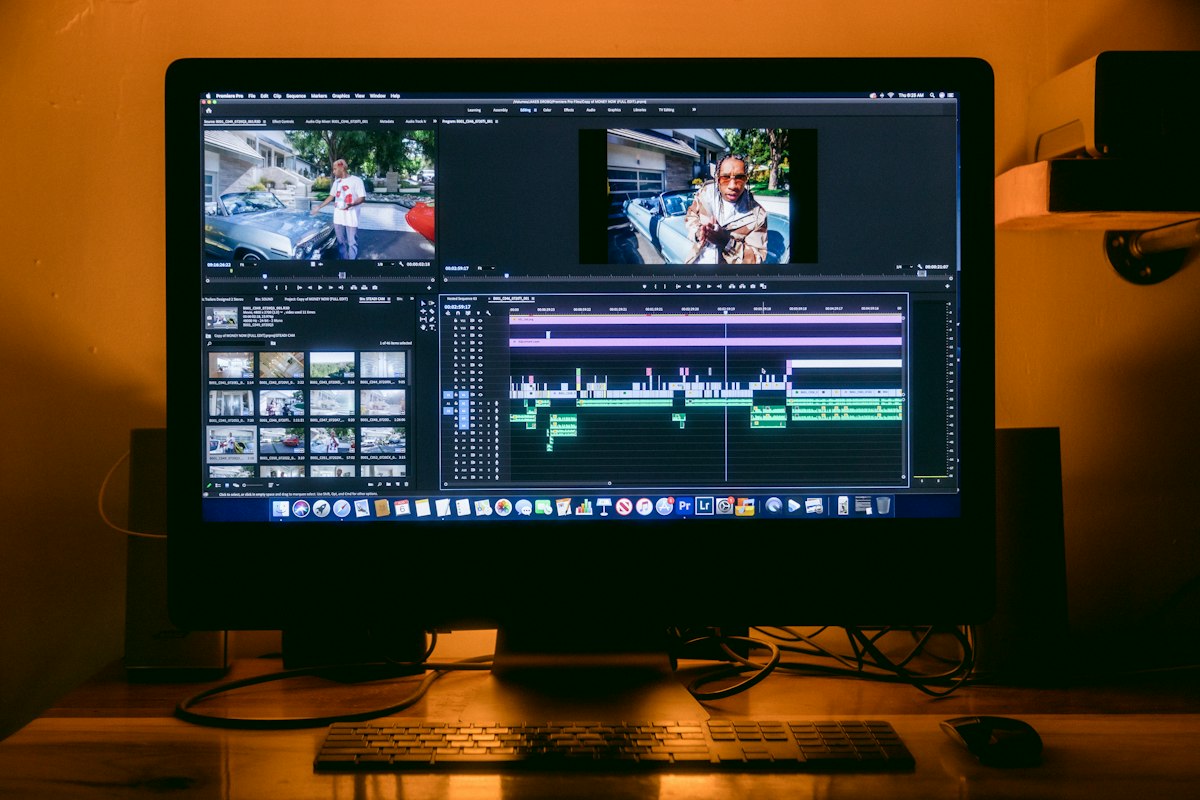
How to record your screen on any phone is one of those tasks that feels like it should be complicated, and then you realize the tools have been sitting in your Quick Settings the whole time. Maybe you are launching a YouTube channel of smartphone tutorials. Maybe you want proof of a new high score in a mobile game, not just a screenshot but the actual act of achieving it. Whatever the reason, capturing your display is a built-in feature on the two biggest Android brands and on the iPhone. Here is how each one works.
Recording Your Screen on a Google Pixel
On a Google Pixel, unlock the handset and swipe down from the top of the screen with two fingers to bring up the full Quick Settings selection. Look for a widget labeled Screen recorder. If it is not immediately visible, swipe left or right across the panel. If it still does not appear, tap the pen icon in the lower right corner to add it to the Quick Settings menu.
Tap that widget. A panel of toggle switches opens, and this is where you decide what the recording actually captures. Screen touches? You can choose whether they're visible in the final video. You can enable the selfie camera feed as an overlay, which is handy if you're narrating or reacting to what is on screen, and that's a choice you make before you ever hit record. Audio is another choice. Pull from your phone's apps, from the microphone, or both.
The drop-down menu at the top of the panel lets you decide between recording the entire screen or just a single app. When you are happy with the setup, tap Start. A short countdown runs, then the recording begins. To end it, tap the red recording timer in the status bar at the top, then tap Stop. The video lands in Google Photos.
Recording Your Screen on a Samsung Galaxy
Samsung Galaxy phones follow a similar path. But the steps aren't quite identical. With the phone unlocked, swipe down from the top of the display, then swipe down again on the central pane, the one with icons for Wi-Fi and the flashlight, which is a small detail that matters more than you'd think when you're trying to find the right control in a hurry. That reveals the Screen recorder icon. It opens its own settings panel.
Here you pick your recording area. Full screen or partial screen, that's the call. Audio gives you three choices, and they're simple enough: None, Media, which grabs whatever your phone is playing, and Media and mic, which layers microphone input right on top of the app audio if that's what you want. So there's a toggle switch too. It shows taps and touches on screen.
Tap Start recording. Wait through the short countdown. The capture begins. Up in the corner of the screen, you will see a widget overlay for adding annotations or a selfie camera overlay, plus controls for pausing or stopping, and it's all right there waiting for you. Tap the stop button. The video is saved in Samsung Gallery and, if you have it installed, Google Photos. And that's it.
Recording Your Screen on an iPhone
For iOS, the screen recorder lives in the Control Center. Just swipe down. It's in the top right corner of the display. Once you're there, you tap the screen recorder button, which looks like a circle with another circle outside it, and that's how it works on most devices. But if the icon has been removed from the Control Center somehow, and you can't find it anywhere, tap the plus button in the top left corner to add it back.
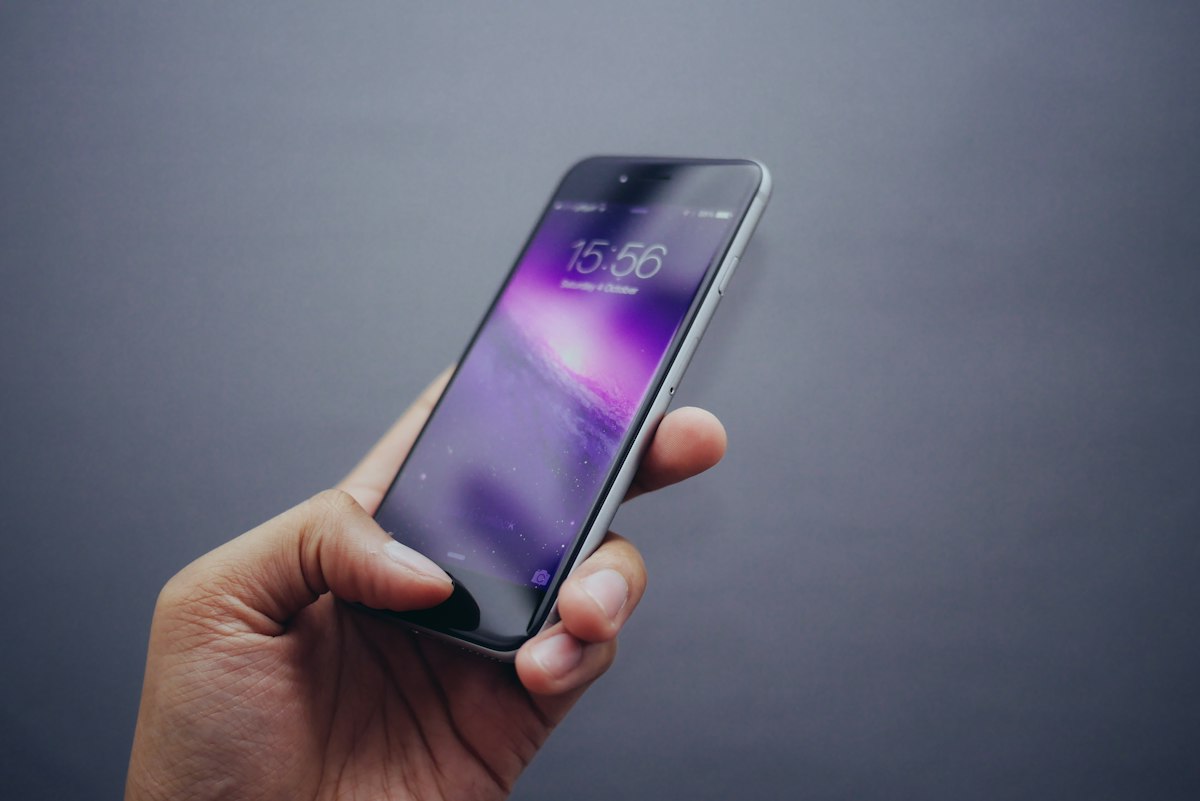
You have two ways to start. Tap the record button once to begin the countdown and launch the recording. Or press and hold the record button to choose a different destination app besides the default Photos option, which means you can broadcast your recording to Facebook or WhatsApp, for example. Pressing and holding also lets you choose whether or not to include the iPhone mic audio. The iPhone's native output audio is always included.
Just stop it. Tap the recording indicator at the top of the screen, and then tap the red stop button. Your saved video is stored in the Photos app.
What Each Phone Lets You Toggle
- Pixel: screen touches on or off, selfie camera overlay, audio from apps or microphone, full screen or single app.
- Galaxy: full screen or partial screen, audio set to None, Media, or Media and mic, plus a taps and touches toggle.
- iPhone: destination app selection and microphone audio on or off, with native output audio always captured.
Third-Party Screen Recording Apps
It is worth noting that iOS restricts what third-party apps can do with screen recordings, for security and privacy reasons. Most apps in this category on the Apple App Store simply tap into the iPhone's own recording capabilities. Record It! Is worth a look if you want to add commentaries and selfie cam reactions, though you need to add those after the main recording. Clips over three minutes require the $6 Pro purchase.
On Android, there are fewer limits on what apps can do. AZ Recorder has been a popular choice for years, offering one-tap recording options, a choice of video quality settings, and some basic editing tools. Removing the ads and the watermarks on exported videos costs $4.49 a month for the Pro version.
Mobizen Screen Recorder is another leading option on Android, with a similar feature set: a widget overlay for instantly starting recordings, editing tools, and a few options for video quality covering both resolution and refresh rate. Removing ads and watermarks runs $3.35 a month.
The Catch With Third-Party Tools
On iOS, the paid tiers buy you polish. Not capability. That's because the operating system keeps third-party apps on a short leash, which means your money goes toward refinement rather than new powers, and you don't get anything the built-in tools can't already do. On Android, the same money buys you features the built-in recorder never offered in the first place. And that's a real difference.
So what does this actually mean for the reader? For most people, it's enough. The native tools do the job, and that's fine. The Pixel, Galaxy, and iPhone recorders all handle the basics, which means countdowns, audio toggles, and one-tap stops are covered without you ever needing to install anything else on your phone. But third-party apps matter when you want editing, annotation, or a widget that starts a recording without digging through menus, and that's a real difference. They're not for everyone. We've kept it simple.
A Few Practical Notes Before You Hit Record
Decide on audio first. It is the setting people forget most often, and a tutorial with no voiceover or a game clip with no sound is a frustrating thing to discover after the fact. The Pixel offers app audio, microphone, or both. The Galaxy splits it three ways: None, Media, and Media and mic. The iPhone always captures native output audio, so your only real decision there is whether the mic joins in.
Second, think about what you want visible. Taps and touches can be helpful in a tutorial and distracting in a game clip. Both the Pixel and the Galaxy let you toggle them. The selfie overlay is the other one to consider, since it changes the whole feel of the video from a silent capture to something closer to a live reaction.
Third, know where your file goes. Pixel saves to Google Photos. Galaxy saves to Samsung Gallery, and to Google Photos if you have it installed. IPhone saves to the Photos app. That is it. No export ritual, no file management required.
Screen recording used to mean cables, capture cards, and a computer sitting in the middle. Not anymore. Now the whole workflow fits inside a swipe and a tap, and it's all right there on the device you already carry, no extra gear required. Pick your phone. Find the recorder. Set your toggles, and start capturing.
Frequently Asked Questions
How do you access the screen recorder on a Google Pixel?
Unlock the handset and swipe down from the top of the screen with two fingers to bring up the full Quick Settings selection. Look for a widget labeled Screen recorder, and if it is not immediately visible, swipe left or right across the panel or tap the pen icon in the lower right corner to add it. Tap that widget to open a panel of toggle switches before recording.
What audio options does a Samsung Galaxy screen recorder offer?
The Galaxy's audio setting gives you three choices: None, Media, which grabs whatever your phone is playing, and Media and mic, which layers microphone input right on top of the app audio. This differs from the Pixel, which offers app audio, microphone, or both. The iPhone always captures native output audio, so your only real decision there is whether the mic joins in.
Why do third-party screen recording apps matter differently on iOS and Android?
On iOS, the paid tiers buy you polish, not capability, because the operating system keeps third-party apps on a short leash and you don't get anything the built-in tools can't already do. On Android, the same money buys you features the built-in recorder never offered in the first place. That is a real difference between the two platforms.
Where does your recorded video end up after you stop recording on each phone?
Pixel saves to Google Photos, Galaxy saves to Samsung Gallery and to Google Photos if you have it installed, and iPhone saves to the Photos app. There is no export ritual and no file management required. The whole workflow fits inside a swipe and a tap on the device you already carry.
What should you decide before you hit record on any phone?
Decide on audio first, because it is the setting people forget most often, and a tutorial with no voiceover or a game clip with no sound is frustrating to discover after the fact. Think about what you want visible, since taps and touches can be helpful in a tutorial and distracting in a game clip, and the selfie overlay changes the whole feel of the video. Also know where your file goes, though each phone handles that automatically.

Chloe Dupont covers consumer technology, from the latest devices to the software shaping daily life. She focuses on how new tools fit into the real world and whether they live up to the promise.
💬 Comments (0)
No comments yet. Be the first!