Toyota MR2 Spyder Door Swap Guide
Bozi Tatarevic details a Toyota MR2 Spyder Door swap using a $150 salvage part, transferred trim, and fresh adhesive.
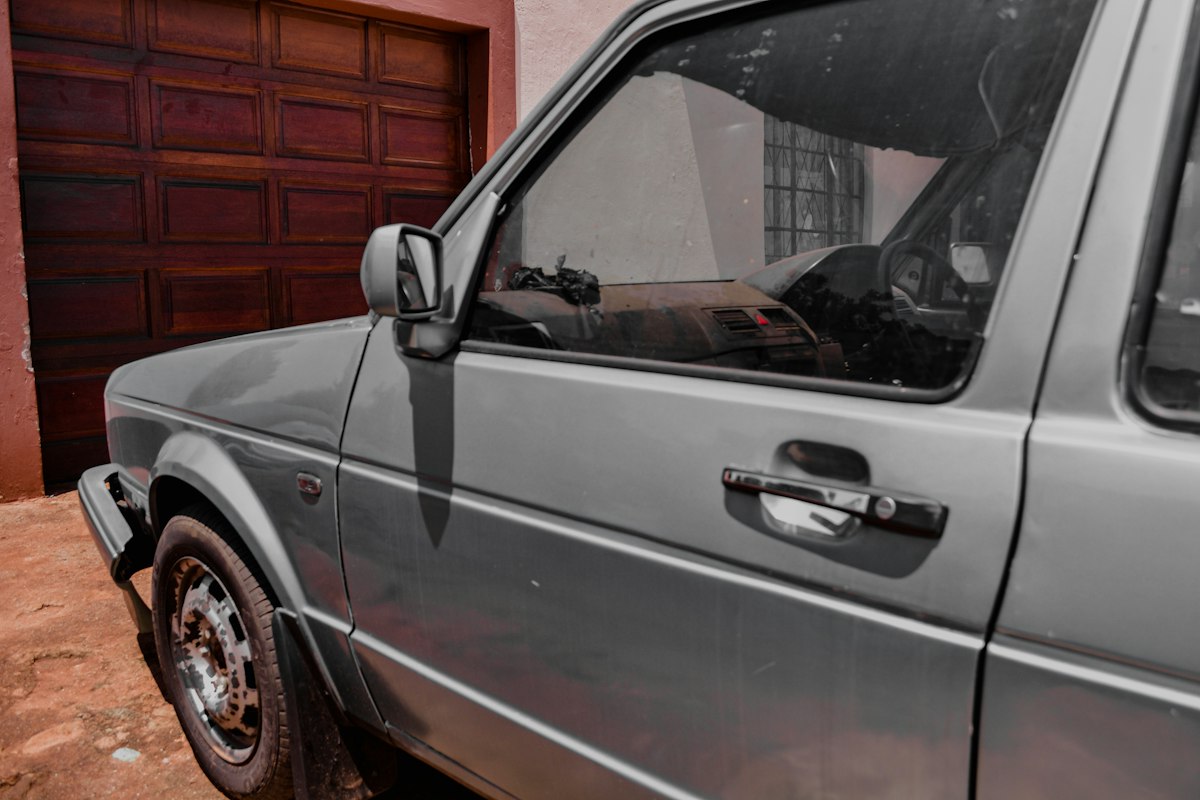
Toyota MR2 Spyder door replacements spark debate. Enthusiasts can't decide if they should repair individual broken components or swap the entire assembly from a donor vehicle instead. Sourcing a matching component from a local salvage yard often proves to be the most practical path forward because it resolves aesthetic defects while simultaneously fixing functional issues like broken exterior handles. It's one operation. Simple.
Aging hardware requires choices. Sourcing a used replacement panel in the original factory color for $150 eliminated the labor-intensive tasks of bodywork and repainting, which meant we didn't have to worry about color matching. But structural repairs are difficult. Addressing structural damage on a mid-engine roadster requires systematic disassembly, careful handling of delicate plastic fasteners, and precise alignment during reinstallation, because they're fragile and it's easy to break them.
Removing the Damaged Panel and Unhooking Wiring
The process begins inside. You'll need to pull the interior trim pieces near the door opening to reach the main electrical wiring bundle, as it's the only way to access the connectors. And after removing a small retaining nut along with several surrounding plastic trim elements, you must unplug the two primary electrical connectors that are situated in the lower corner of the door opening. It's difficult.
Separating the door from the chassis involves a specific sequence of hardware removal:
- Remove the single 10 mm bolt that secures the central door-check arm to the body structure.
- Loosen the 12 mm hinge bolts using ratcheting wrenches to navigate the tight working space inside the jam.
- Ensure a helper supports the exterior weight of the panel as the final hinge bolts are unthreaded.
- Carefully feed the disconnected electrical wiring through the body shell without snagging the cables.
Physical assistance is vital here. Balancing the heavy steel assembly while you try to unthread fastener hardware creates a high risk of scratching adjacent body panels because it's awkward. Don't work alone. So, having one person support the panel from the outside prevents sudden movement once the structural bolts come free, and that's how they're removed safely.
Preparing the Replacement Unit and Moisture Barrier Maintenance
The replacement panel was dirty. Although the unit acquired from the salvage yard featured intact exterior handles and clean paint, sitting in an exposed yard meant it required thorough cleaning and polishing before installation. It's much easier. With the replacement unit off the vehicle, internal component prep becomes significantly easier as we've removed the obstacles that usually make this type of work a slow, frustrating, and messy process.
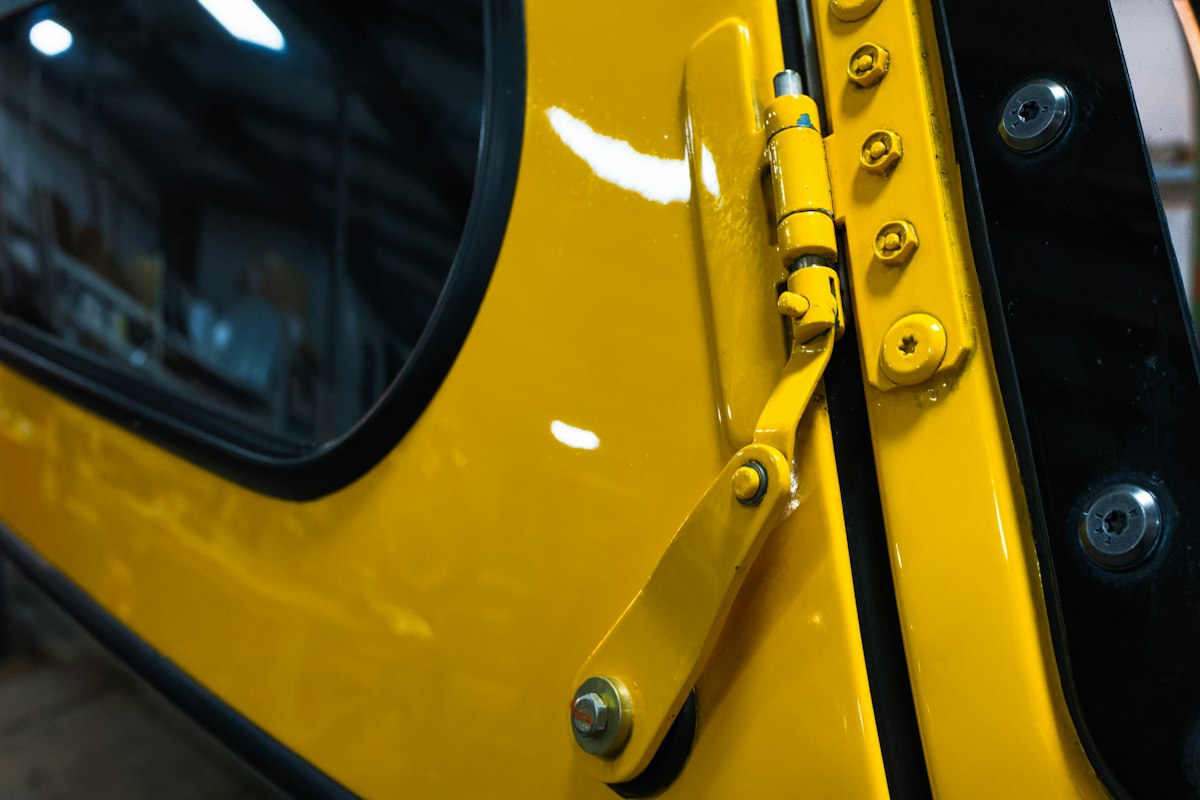
One critical step that's often overlooked during body maintenance is the internal moisture barrier. Factory adhesive degrades over time. And because this degradation risks water intrusion into the floorboards, restoring the internal moisture seal demands methodical surface preparation before any final reassembly can take place.
To refresh the vapor seal, the old tacky adhesive was dissolved with a minimal amount of brake cleaner and scraped clean using a plastic bottle cap. It's clean. Fresh adhesive bought online was traced directly along the original factory pathway to ensure the bond holds firmly, but before pressing the plastic sheet back into position, all internal electrical runs and door-handle linkages must be correctly routed through their designated cutouts. So don't rush. Failing to position these tabs and cables correctly before sealing the plastic barrier forces you to tear the newly installed barrier back open.
Navigating Interior Trim and Aging Plastic Clips
Reinstalling interior door trim is difficult. But it’s significantly more challenging to put the pieces back together than it was to take them apart in the first place. Aging plastic gets brittle. Because heat cycles weaken the material over many years, you must handle the interior trim with extreme patience to avoid snapping the delicate structural tabs off the trim card.
Organized hardware saves time. Since fasteners across the door structure share similar dimensions, it's incredibly easy to mix them up if you throw them into a single tray during the process. Bagging and labeling hardware during disassembly prevents costly errors when you're securing delicate interior mountings. And you should remove the plastic trim around the door handle before you try to mount the main panel, because it makes fitting the main assembly far easier. Label everything.
Check the trim retainers. Replacing missing or cracked plastic clips before you snap the trim back onto the metal frame is the only way you'll stop future cabin rattles. So, check them now. For upper trim pieces, such as the small tweeter cover, the alignment marks molded into the plastic dictate the exact position required to seat the tabs properly.
Final Alignments and Operational Testing
It's hanging on chassis hinges. But physical adjustments dictate how smoothly the replacement panel's latch operates against the striker, while hinge bolt holes allow enough play to adjust the panel gap relative to the rear fender.
The team cleaned the central door stopper. They removed all road debris and applied fresh grease to the metal, ensuring it's ready for a smooth and quiet travel. And after they caught the main hinge bolts, they tested the door through its full swing arc to verify that it moved easily and maintained the proper gap alignment against adjacent quarter panels. It works now.
Completing the Electrical Connections
The physical alignment's set. From there, final assembly shifts back to the cabin interior, where reconnecting the pair of main electrical plugs restores power to the mirror and locking controls. And the interior door-sill cover and corner trim snap back into place over the carpet edge.
Securing the Cabin Trim Fasteners
Manage the torque carefully. Because the small retaining nut on the lower plastic trim threads directly into underlying plastic components, overtightening the fastener will instantly strip out those mounting points. So it's only light pressure that is required to snug the piece safely down.
Long-Term Value of Direct Panel Swaps
It worked. Opting for a complete direct-fit replacement solved multiple body issues in a single afternoon, saving us from the headache of waiting for a professional repair shop. Spending $150 at a local salvage yard provided a straight panel, functional factory color paint, and working mechanical handles, all while ensuring we didn't have to endure expensive body shop visits.
This process offers key structural insights for similar vehicle projects:
- Salvage component swaps save significant time over rebuilding damaged internal latch linkages piece by piece.
- Refreshing internal weather seals prevents long-term floorboard corrosion hidden under factory carpets.
- Gaining hands-on familiarity with interior trim clips makes future cabin work, like speaker upgrades, far less intimidating.
Restoring a mid-engine roadster doesn't always demand complex metalwork. And by performing simple, methodical hardware swaps, you can return full functionality to those aging sports cars while simultaneously building the practical mechanical experience that you will eventually need for more advanced project upgrades down the road. It's simple.
Frequently Asked Questions
Why is swapping a Toyota MR2 Spyder door from a donor vehicle often preferred over individual component repair?
Sourcing a matching component from a salvage yard is practical because it resolves aesthetic defects and functional issues like broken exterior handles in one operation. This approach also avoids the labor-intensive tasks of bodywork and repainting by providing a replacement panel in the original factory color.
What specific precautions should be taken when disconnecting the door from the chassis?
You should have a helper support the exterior weight of the panel to prevent sudden movement and potential scratching of adjacent body panels once the bolts are removed. Additionally, you must carefully feed the disconnected electrical wiring through the body shell without snagging the cables.
Why is maintaining the internal moisture barrier important during a door swap?
Factory adhesive degrades over time, which can lead to water intrusion into the floorboards if the moisture barrier is not restored. Methodical surface preparation and using fresh adhesive along the original factory pathway are necessary to ensure the bond holds firmly.
How can you prevent damaging the interior trim pieces when reassembling the door?
Because heat cycles weaken the material over many years, you must handle the brittle plastic trim with extreme patience to avoid snapping the delicate structural tabs. You should also replace any missing or cracked plastic clips before snapping the trim back onto the metal frame to prevent future cabin rattles.
What are the risks of overtightening the small retaining nut on the lower plastic trim?
The retaining nut threads directly into underlying plastic components, so overtightening it will instantly strip out those mounting points. Only light pressure is required to snug the piece safely into position.

Clara Rossi covers the motoring world, with a focus on electric vehicles, design and the shift toward cleaner transport. She tests the latest models and explains what matters to drivers beyond the spec sheet.
💬 Comments (0)
No comments yet. Be the first!